
As an Amazon Associate I earn from qualifying purchases. Purchases through our links may earn us a commission at no extra cost to you.
Use the sealing method specified for the exact drain assembly and sink material. Some drains use a supplied gasket at the top flange; others call for a compatible putty or sealant. Adding all three is not a substitute for identifying which joint you are sealing.
The useful purchase decision is often a replacement seal or the correct installation material. A serviceable drain assembly does not automatically need replacing because water appears underneath it.
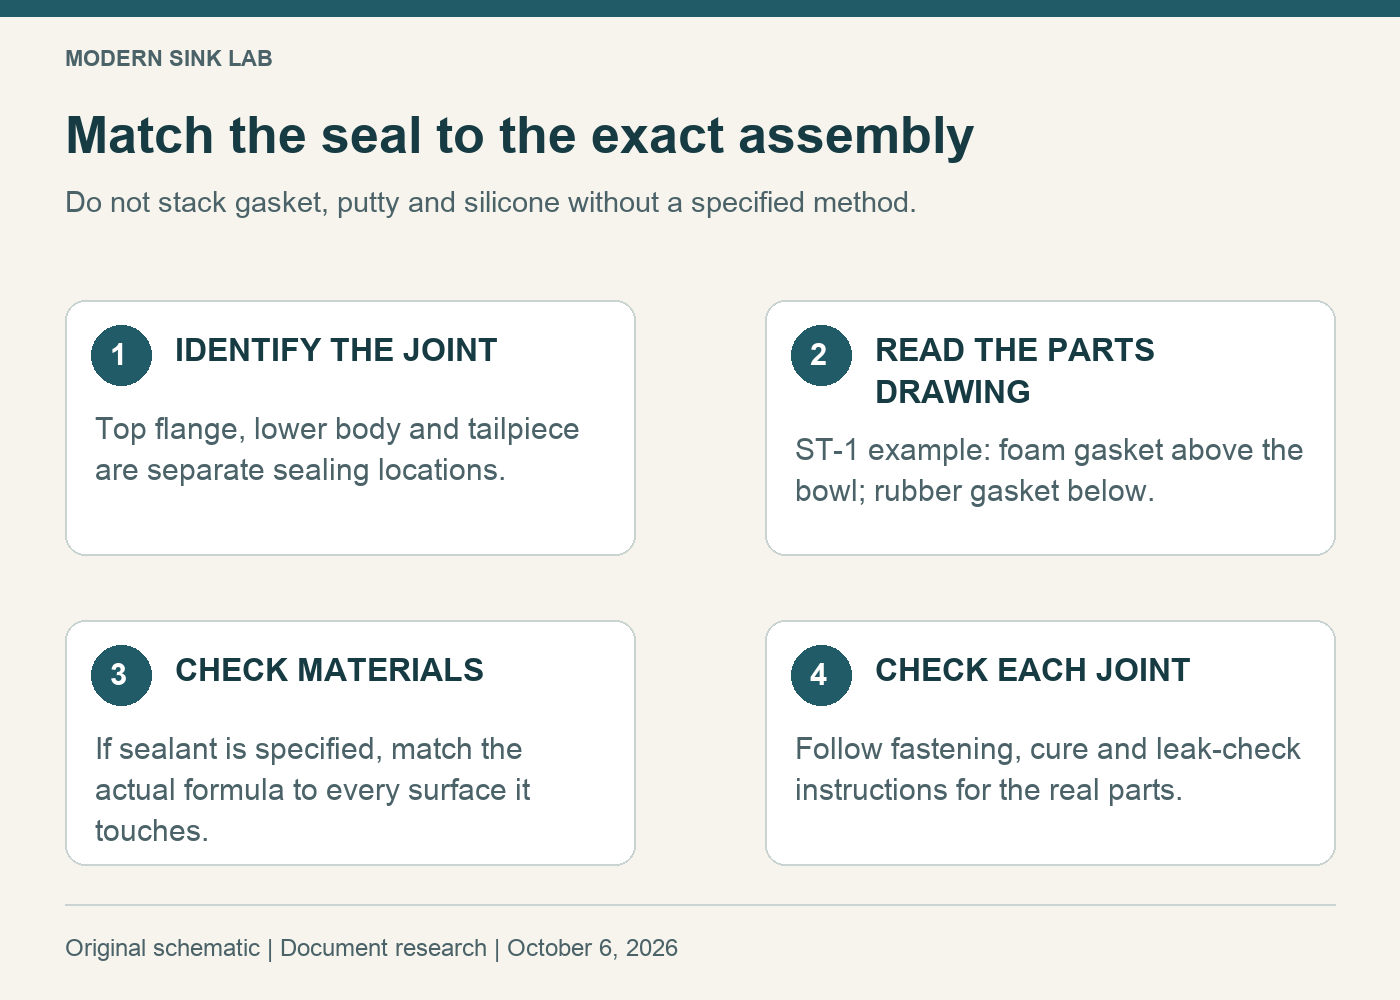
First identify the joint
Separate the flange-to-sink joint from the lower drain-body gasket and the tailpiece connection. Each may use a different seal. A material suitable beneath the top flange is not automatically the right treatment for every threaded connection below it.
Dry the accessible area and observe where water first appears during ordinary use. If the source is unclear, start with our condensation-versus-leak checks. Water running down from above can make the lowest connection look guilty.
Example: the KRAUS ST-1 gasket arrangement
The current KRAUS Kitchen Strainer installation guide covers ST-1 and related models. It places the metal strainer with its foam gasket into the opening from above, then positions the rubber gasket and main body underneath the sink. The diagram is a parts arrangement, not an instruction to add an extra layer of every available sealing material.
Compare the parts in your box with the model and diagram. If your assembly differs or a seal is missing, resolve that discrepancy before installation. Do not assume an older instruction sheet for another KRAUS drain describes the same seal stack.
When putty is specified
Check the putty’s current label and technical information against the actual sink and drain materials. “Stainless sink” does not describe every part that the putty may touch. Plastic components and porous surfaces need their own compatibility check.
Formula changes also matter. Oatey’s November 2024 announcement introduced a reformulated Stain-Free putty compatible with ABS, while older general guidance can give different advice. That is a reason to identify the actual product and current instructions, not permission to treat every putty as interchangeable.
When silicone is specified
Use the type approved by both the drain and sink instructions. Check surface preparation, application location and the product’s cure requirement before exposing the joint to water. Do not assume that “waterproof” on a tube means the joint can immediately be put back into service.
Silicone applied over an assembled leaking joint can also conceal the source without establishing a correct internal seal. Decide whether the joint needs proper disassembly and resealing rather than adding a bead wherever water is visible. If the manufacturer’s instructions are unclear, get model-specific guidance.
A short parts-and-material checklist
- Record the sink material and exact drain model.
- Identify the leaking or newly assembled joint on the exploded drawing.
- Match each supplied gasket to its specified position; do not substitute one by color alone.
- If a sealant is required, check its compatibility and cure instructions.
- After assembly, verify each joint separately during the manufacturer’s prescribed check.
Do not compensate for an incorrect seal stack by overtightening. Follow the stated fastening instructions; we have not established a universal torque for these different assemblies.
When a complete ST-1 makes sense
KRAUS ST-1 is a complete non-disposal strainer assembly specified for standard 3½- or 4-inch sink openings. Consider it when the existing assembly needs replacement and its dimensions and connections fit. It is not a small-hole bar-sink drain or a disposal mounting flange.
Check KRAUS ST-1 — complete round strainer assembly
The selected Amazon option is “Round Drain Assembly w/ Strainer.” Other options on the same listing include covers and different strainers. Compare the opening, flange and tailpiece measurements before ordering. If only a serviceable assembly’s seal needs attention, ask for the correct replacement seal first.
Research scope: KRAUS’s current Kitchen Strainer guide and ST-1 information, plus Oatey material guidance and its reformulation announcement, checked October 6, 2026. No leak repair or material compatibility test was performed.