
By Modern Sink Lab
As an Amazon Associate I earn from qualifying purchases. This maintenance guide does not select a replacement product or include a shopping button.
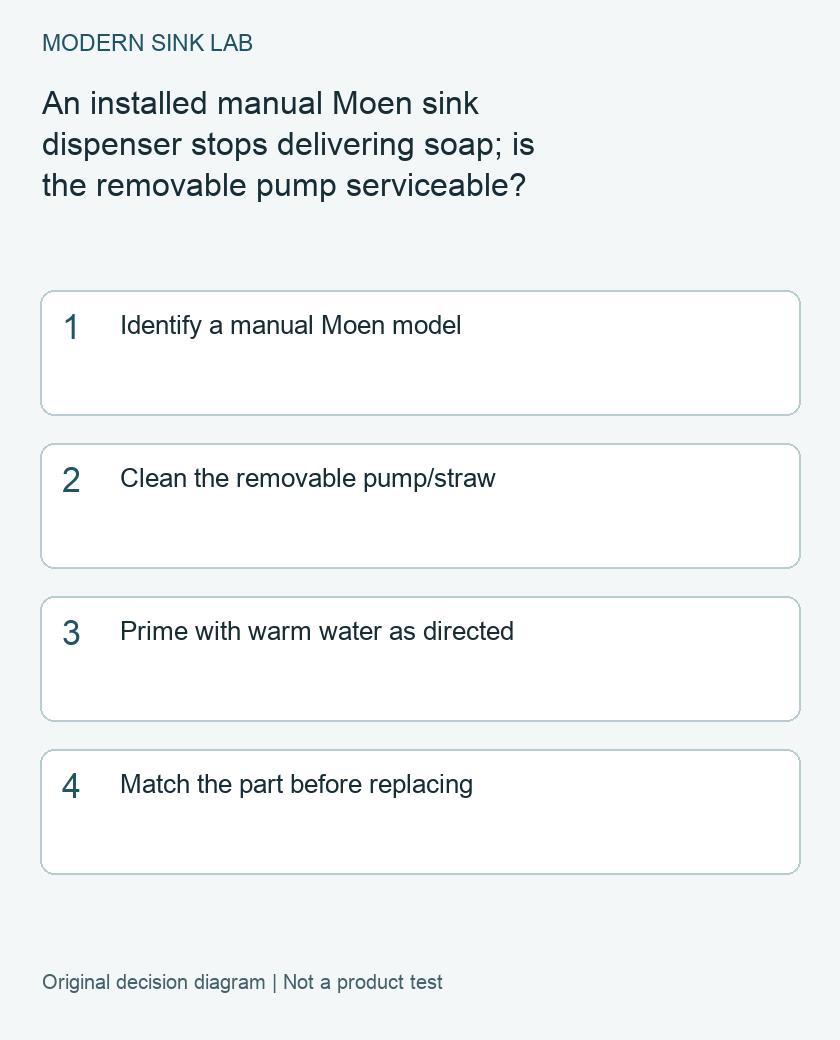
For a manual Moen sink soap dispenser that no longer pumps, identify the dispenser and service the removable pump before replacing the complete fitting. Moen documents a warm-water cleaning and priming procedure for the style shown in its care guide. It also warns that its different repair-kit styles are not interchangeable.
This guide is for the hand-operated countertop type with a removable pump and straw. A sensor dispenser, foam system or electronic control box needs its own instructions. Do not transfer a manual-pump cleaning routine to powered components.
Identify what is failing before taking it apart
Write down whether the head moves freely, sticks down, feels loose or delivers only occasionally. Check the soap level and whether the problem began after refilling, changing soap, a long unused period or work beneath the sink. These observations let you compare before and after without repeatedly changing the soap and the pump at once.
Find the model using purchase records, the faucet package information if supplied together, or the manufacturer’s illustrated identification library. Photograph the whole spout and base before removal. Keep the existing parts together: a similar finish is not a part-number match.
Use the documented clean-and-prime procedure
For the removable style in Moen’s guide, lift the dispenser head straight up, separate the pump/straw, and soak that assembly in warm soapy water until clean. Reassemble with the pointed end down. Pump warm water from a glass through the assembly to prime it, then seat the head back in its base. Clean the visible head with a soft cloth and mild soap, rinse and dry.
Check your model instructions before applying those steps. If the head does not release in the documented direction, do not lever it against the sink or countertop. Stop rather than turning a pump problem into damage to the mounting surface.
Keep the water test separate from the bottle test
The small glass used in priming gives you a useful comparison. Record whether water now moves through the pump and whether the head returns after each press. Then note what happens once the assembly is returned to the installed bottle. Do not declare success just because the head moves; the intended output has to appear at the nozzle.
If water passes but the installed dispenser still fails with soap, that is a reason to check the actual soap, refill condition and pickup arrangement against the model instructions. It is not proof that every pump part is sound, nor a reason to order a whole new fitting immediately. Do not thin an entire bottle to an invented ratio: soap types and dispenser requirements differ.
If the assembly will not move warm water after the approved cleaning and priming steps, record that result for support. Do not drill out a nozzle, cut a spring or force an unlisted tube onto it. Those changes make the test harder to interpret and may create a leak.
A four-line service note
- Identity: dispenser model or identifying photos; manual pump confirmed.
- Before: soap used, fill level, head movement and when failure began.
- Procedure: model-approved cleaning performed; parts removed and reinstalled.
- After: warm-water output, soap output and whether the symptom returns.
Use the note to ask a narrow question: which service kit matches this dispenser, and does the observed failure justify replacing it? This is more useful than asking for a universal Moen pump. Moen’s identification library lists different kits for different styles; a shared brand or bottle capacity does not establish compatibility.
Repair part or whole new dispenser?
A matching pump repair is the first option to investigate when the mounted body and bottle arrangement are intact. A complete replacement may be reasonable when the body is damaged, a correct service part cannot be established, or the existing arrangement is inconvenient even when working. Confirm those conditions instead of buying a complete unit solely for a dry nozzle.
If replacing the complete fitting, revisit the installation measurements in our linked fit guide. A top-refill label does not establish mounting-hole, deck-thickness or bottle-removal clearance. Keep a record of the old model so the new purchase solves both the service issue and the fit problem.
We have not tested your pump, determined its remaining life or confirmed a replacement offer. This guide deliberately provides no universal repair-kit number or shopping button: the exact part should follow identification, not precede it.
Related guides
- Kitchen Sink Soap Dispenser Hole Size & Deck Thickness Guide
- Single-Hole Faucet on a Three-Hole Sink: Plate or Hole Covers?
Research basis and limits
Document-based guide by Modern Sink Lab, checked October 23, 2026. Manufacturer references: Moen Soap Dispenser Care and Cleaning; Moen Soap Dispensers identification library. The comparison notes and decision sequence are editorial recommendations. We have not performed this procedure on a physical unit, measured reliability or inspected your installation. Follow the exact model instructions where the procedure differs.