
As an Amazon Associate I earn from qualifying purchases. Purchases through our links may earn us a commission at no extra cost to you.
If your dishwasher stopped draining immediately after a garbage disposal was installed, have the dishwasher inlet checked first. A factory plug left in that inlet can block the dishwasher’s drain path even while water from the sink drains normally. The timing makes this a useful first check, not a confirmed diagnosis.
Do not order a dishwasher pump or a second disposal simply because water remains in the dishwasher. Start by identifying what changed during the installation.
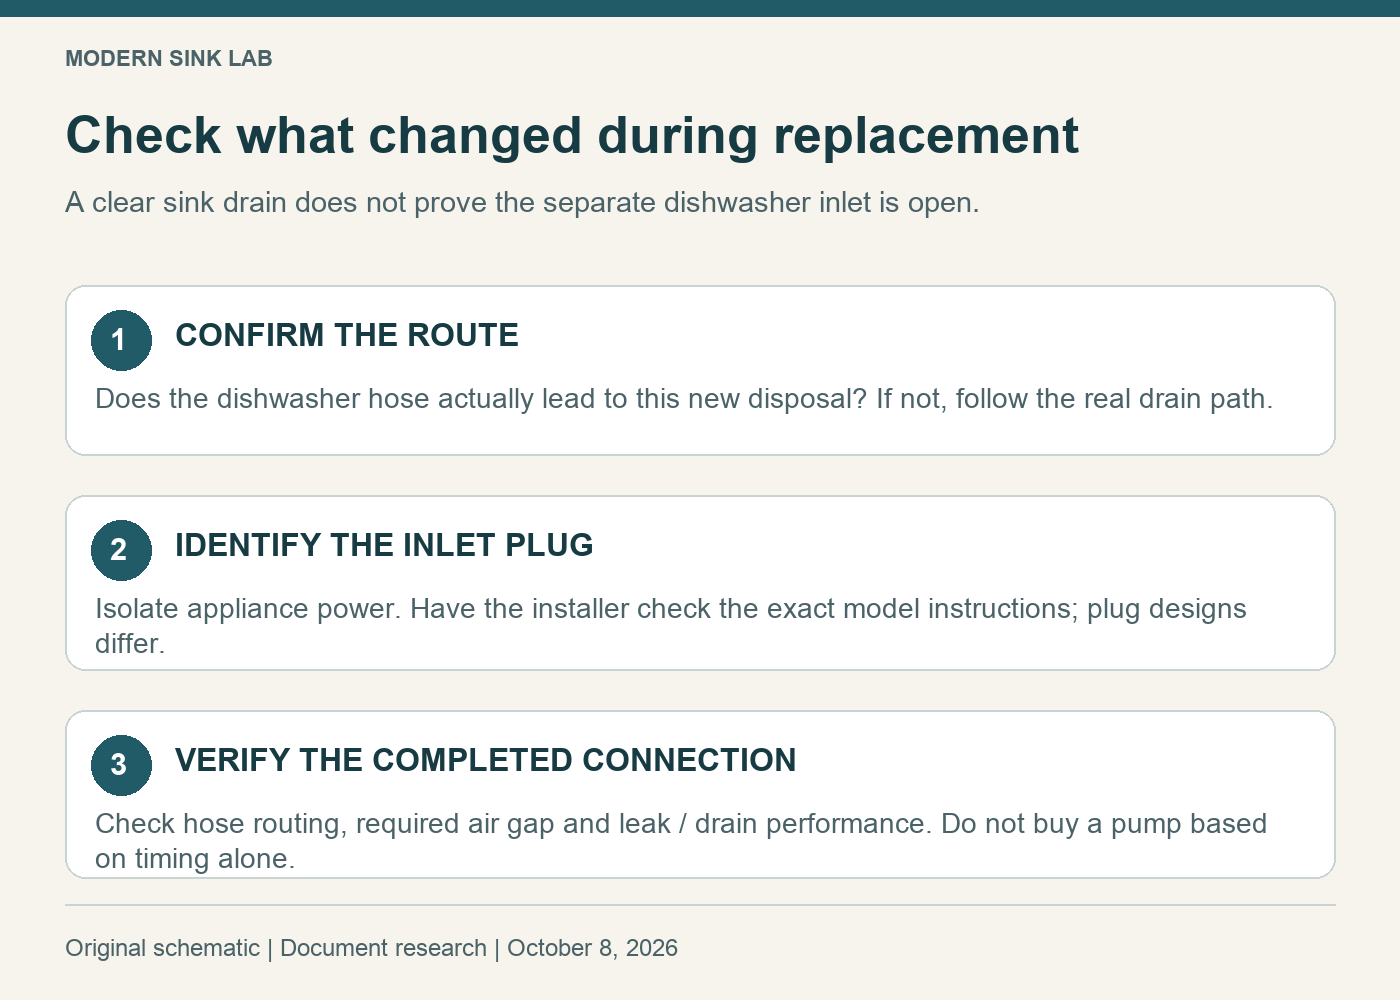
First confirm where the dishwasher hose goes
Look at the accessible plumbing without disconnecting anything. Does the dishwasher hose actually connect to the new disposal, possibly through an air gap, or does it enter a separate drain fitting? The disposal-inlet check only applies to the first route.
A disposal has a sink opening, a main waste outlet and, on suitable models, a smaller dishwasher inlet. Normal sink drainage does not establish that this separate dishwasher entry is open. Ask the installer to show you the correct connection on the model’s drawing.
Check the exact plug design
InSinkErator’s Badger-family instructions require the dishwasher drain plug to be removed when a dishwasher is connected. Its conventional installation guide also requires the loose knockout piece to be retrieved from inside the disposal. Newer EZ Connect installations use separate instructions and may have a removable inlet plug; do not apply a hammer-based method to an unidentified part.
Before any hands-on inspection or disassembly, isolate power to the disposal and dishwasher as their instructions require. Do not reach into a powered disposal. If isolation, wiring or safe access is uncertain, have the installer perform this check. This article identifies the installation decision; it does not replace either appliance’s full safety instructions.
If no dishwasher connects there, do not open the inlet just because a guide calls it a “knockout.” Opening an unused connection creates a different problem.
If the inlet is open, follow the drain route
Whirlpool’s drainage guidance also points to hose restrictions, filters and the sink-side connection. A hose can become kinked or pinched while the new disposal is maneuvered into position. An open inlet alone does not prove that the rest of the route is correct.
- Record whether drainage was normal immediately before replacement.
- Ask whether the hose was moved, shortened or reconnected.
- Have the installer check the appliance’s specified hose route and any required air gap.
- Report error codes and whether water remains after the prescribed drain procedure.
For a project that needs an air gap, our air-gap fit guide covers its separate counter-hole and space requirements. Do not replace a required air gap with an improvised hose loop based only on a generic online diagram.
When buying another disposal makes sense
A correctly functioning new disposal usually needs an installation fault corrected, not replacement to remove a factory plug. If you are still selecting the appliance for an unrelated replacement, the InSinkErator Badger 5 with power cord is a ½-horsepower continuous-feed option with a dishwasher connection.
Check Badger 5 — ½ HP with power cord
The link selects the corded package, not a cord-free version or a dishwasher connector kit. Check the existing electrical arrangement, mounting combination and installed outlet height and cabinet clearance before ordering. Motor horsepower does not resolve a blocked dishwasher inlet.
Close the repair with a drainage check
After the correct connection is completed, have the installer run the manufacturers’ prescribed checks for drainage and leaks. Record what was corrected. If water still remains, continue with the dishwasher’s model-specific troubleshooting instead of repeatedly opening the disposal connection.
Do not use drain-opening chemicals inside the dishwasher. Stop if there is leakage or an electrical concern; repeated cycles are not a useful test of an unresolved installation fault.
Research scope: InSinkErator Badger and installation guidance plus Whirlpool dishwasher drainage guidance, checked October 8, 2026. No appliance was installed, opened or tested.